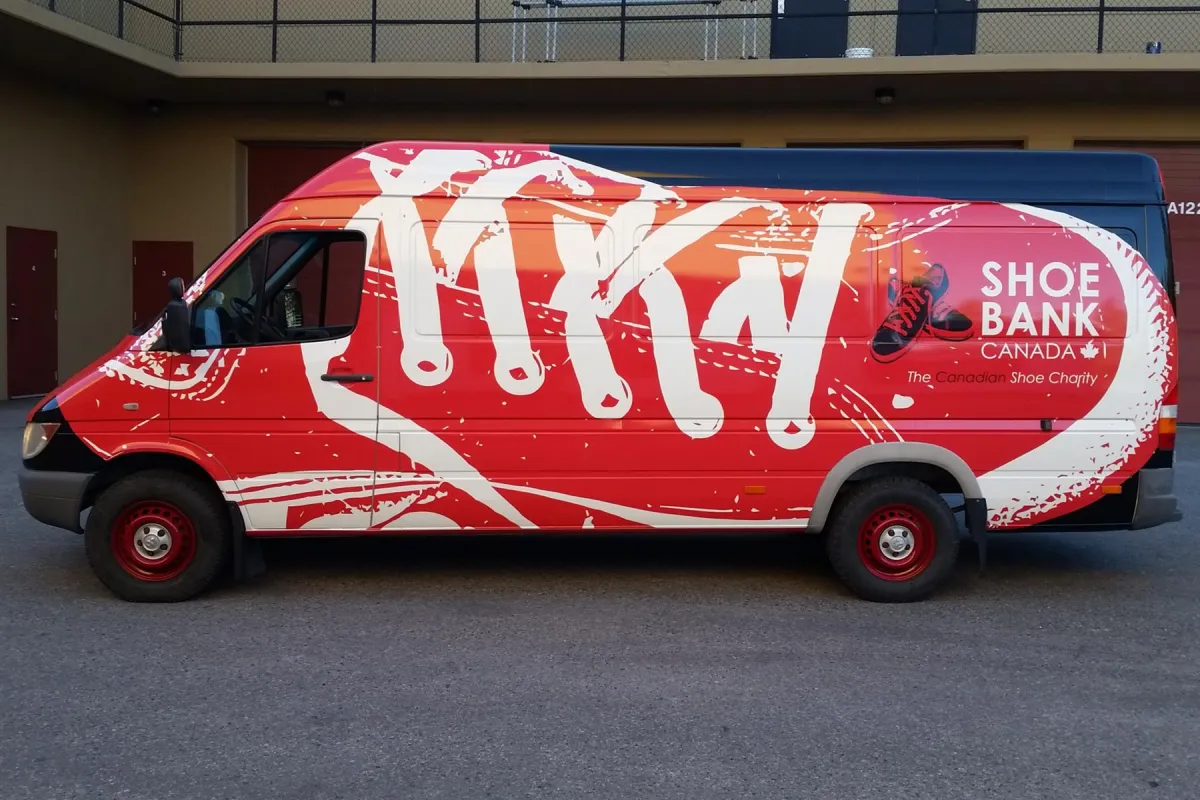
How Not To Fail At Vehicle Wraps
How do you measure a truck wrap without losing your mind? One square foot at a time - and preferably not with your eyeballs.
Whether it’s a single unit or a full fleet, here’s what we actually need to quote and install your vehicle wrap properly, with no surprises. Save yourself (and us) time and money by getting the details right upfront - it's important you know all the tips to make sure your next standard vehicle wrap doesn’t fail.
What We Need to Quote:
Make, Model, Year, and Trim Level (yes, the trim matters - especially with trucks and commercial vehicles)
Pictures + Measurements of the vehicle or a vehicle template (we can check with Steve if we already have one!)
If you're going custom or want precision: Professional Measuring by Installer ($250 fee) – Don't DIY this! It’s worth it.
Total Vinyl Coverage Estimate – use square footage from template or images.
Pro Tip for Measuring:
Use phone-friendly tools like:
Photo Measures or MeasureKit (iOS) to visually annotate photos with dimensions
CamToPlan for augmented reality distance measuring. Or better yet: let the installer handle it.
Before the Wrap:
Vehicle must be clean (and we mean really clean) before installation.
Must be installed in +10°C or warmer, and stay that way for 8 hours after install to ensure proper vinyl adhesion.
Badges can be removed (if you want a cleaner look), but the more you remove, the higher the cost.
Watch out for rust (and prep before or we can’t guarantee the wrap)
Installation Location:
On-site or in a WKX bay – depends on what’s available.
Remote jobs? No problem. We can fly our team or source a trusted installer near you—we’ve got partners coast to coast.
Special Notes for Fleets:
Every vehicle needs:
Type + trim tracking
Install dates and condition reports
Pre/post-install pictures
Standardized care instructions with every wrapped unit.
For fleets with varying vehicle types, we aim to find the most cost-effective and brand-consistent wrap solution.
Production Timeline & Expectations:
Design & Proof Approval: 2-5 business days depending on complexity.
Print & Prep Time: Typically 3-5 business days.
Off-Gassing (Lamination Wait Time): 24-48 hours after printing for best performance and to avoid vinyl failure.
Install Scheduling: Based on vehicle readiness and location (1-3 days lead time in most areas).
Final Tips:
Tell us if edges, contours, or tricky curves are part of your design plan. We’ll adjust the vinyl order accordingly.
Vehicles that arrive dirty = more time = more money.
Communication saves everyone time. Send us all the details up front to keep your wrap smooth and stress-free.
Real Talk: Why Accuracy Matters
We once had a client bring in a custom cube truck for a full wrap. They had measured it themselves and sent us the files, but when it showed up in the bay, we discovered the dimensions were several inches off. The design didn’t fit the sides properly, which meant we had to reprint everything. We helped them out on the cost of vinyl, but rebooking bay time and installer hours wasn’t cheap.
Lesson learned (for all of us): Custom vehicles almost never match the standard templates exactly. A professional measurement upfront could’ve saved thousands. If your truck is anything other than stock, please let us help you get it right the first time.
Ready to Wrap Smarter?
Send us your vehicle details, or book a measurement with our team today. We'll make sure your wrap fits perfectly - no surprises, no stress.
Prefer to prep on your own first?
Download our free Vehicle Wrap Cheat Sheet - it’s packed with tips, measuring tools, and must-know info to help you get it right the first time.
